

OpenTouch

OpenTouch Mobile turns a supported USB sensor into a polished, ready-to-use camera workspace.

Connect a supported USB sensor, grant access, and use a calm, focused workspace for preview, capture, recording, and quick review.

OpenTouch Mobile · Team

People behind OpenTouch Mobile

A project from LASR Lab, TU Dresden.

Overview

Built for a focused hardware workflow.

01

Connect

Waits for a supported USB sensor and prompts for permission.

03

Capture

Take photos, record videos, and save straight to the gallery.

02

Preview

Camera opens with a live preview shaped for the sensor.

04

AI

Pick a model from the AI selector, that helps to process the image of the sensor.
Features

Everything the current app already supports.

Swipe through to see each capability inside the app.

9:41
OpenTouch DIGIT
Live 320×240
Live
● 00:07
R184
G115
B224
Frame rate60 fps
01 / 06

Live sensor preview

Shows the camera feed after permission is granted and the device is recognized.

02 / 06

Photo capture

Captures still images and saves them to the device gallery.

03 / 06

Video recording

Records video clips and stores them alongside the photos on the device.

04 / 06

RGB illumination controls

Tune red, green, and blue illumination to suit the sensor workflow.

05 / 06

FPS control

Adjust the preview frame rate, with device-specific max values surfaced in the UI.

06 / 06

Gallery shortcut

Opens installed gallery apps so users can review the captured media immediately.

Technical notes

The app also surfaces FPS and resolution information, supports sensor-specific preview shapes, and keeps the AI selector as a placeholder for future on-device features.

Workflow

How a new user gets from install to capture.

STEP 01

Install from Google Play

Get OpenTouch from the Google Play Store, then install it on a compatible Android device.

STEP 02

Attach a supported sensor

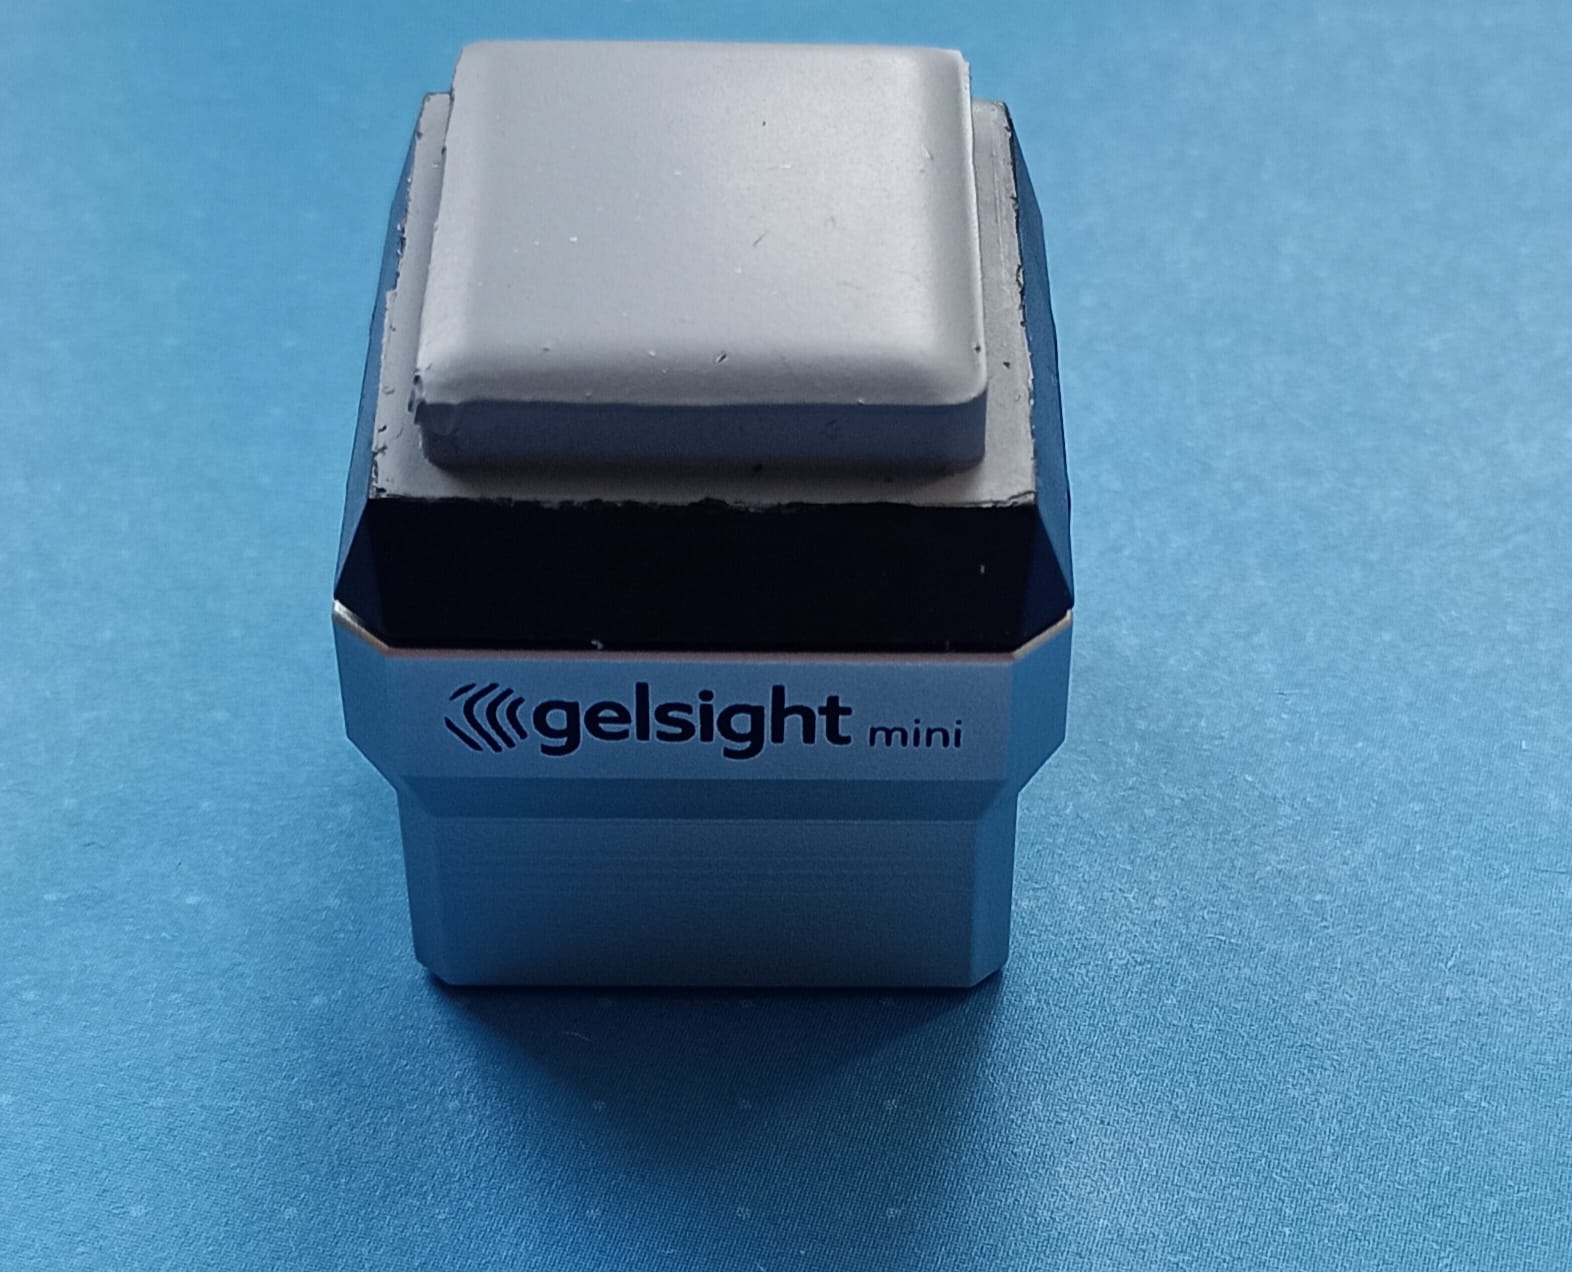
Plug in a DIGIT or GelSight Mini sensor through USB host mode.

STEP 03

Grant access

Android asks for camera and USB permission, then the app verifies the connected hardware.

STEP 04

Capture or record

Use the capture button, open the gallery, or adjust FPS and RGB settings as needed.

STEP 05

Try the AI option

Select the AI placeholder in the capture menu to preview on-device model support — see the Models section below.

Bring your own model

Add your own AI model.

The full training pipelines and model library are still on the way. In the meantime, OpenTouch already supports bringing your own on-device model — here's how it works.

AI features need the Play Store build

ONNX Runtime ships as a Play Feature Delivery dynamic module, so a sideloaded APK (one installed without going through Google Play or an App Bundle installer) won't include the AI or model-import feature at all.

What a model actually is

A model is an image classifier exported to ONNX, paired with a JSON config of the same base name — for example key_finger.onnx and key_finger.json.

Models aren't bundled in the app

OpenTouch doesn't ship models inside the APK. It reads them at runtime from Android/data/com.opentouch.sensorapp/files/models/ on the device.

The model config schema

Every model's JSON config needs these fields. Example based on key_finger.json:

{ "input_width": 224, "input_height": 224, "color_order": "RGB", "mean": [0.485, 0.456, 0.406], "std": [0.229, 0.224, 0.225], "labels": ["key", "finger"], "output_type": "logits" }
  • input_width, input_height — input image dimensions in pixels (integers).
  • color_order — must be "RGB".
  • mean, std — 3-value arrays for ImageNet-style normalization.
  • labels — array of class names, in output order.
  • output_type — must be "logits".

Two ways to install a model

One-tap install

Download a packaged <name>.opentouchmodel file — a zip of model.onnx and model.json, renamed. OpenTouch is registered as the Android file handler for .opentouchmodel / application/vnd.opentouch.model, so tapping the downloaded file on the phone opens the app and imports it automatically.

Manual import

From the app's AI menu, use "Import model files" and pick a matching .onnx and .json pair directly.

Try it now

Two OpenTouch models you can download and import today.

max_model

General-purpose demo model for exploring the OpenTouch pipeline.

key_finger

Key vs. finger classifier — a proof-of-concept model, trained on 13 images.

Package your own model

  • Train your model and export it to ONNX, with a matching JSON config following the schema above.
  • Zip the pair into a .opentouchmodel file using the app's model-packaging script, available in the project's public GitHub repo.
  • Share the .opentouchmodel file — tapping it on an Android device imports it automatically.
Supported hardware

Choose a sensor to explore.

OpenTouch is built for local USB workflows with these supported tactile sensors.

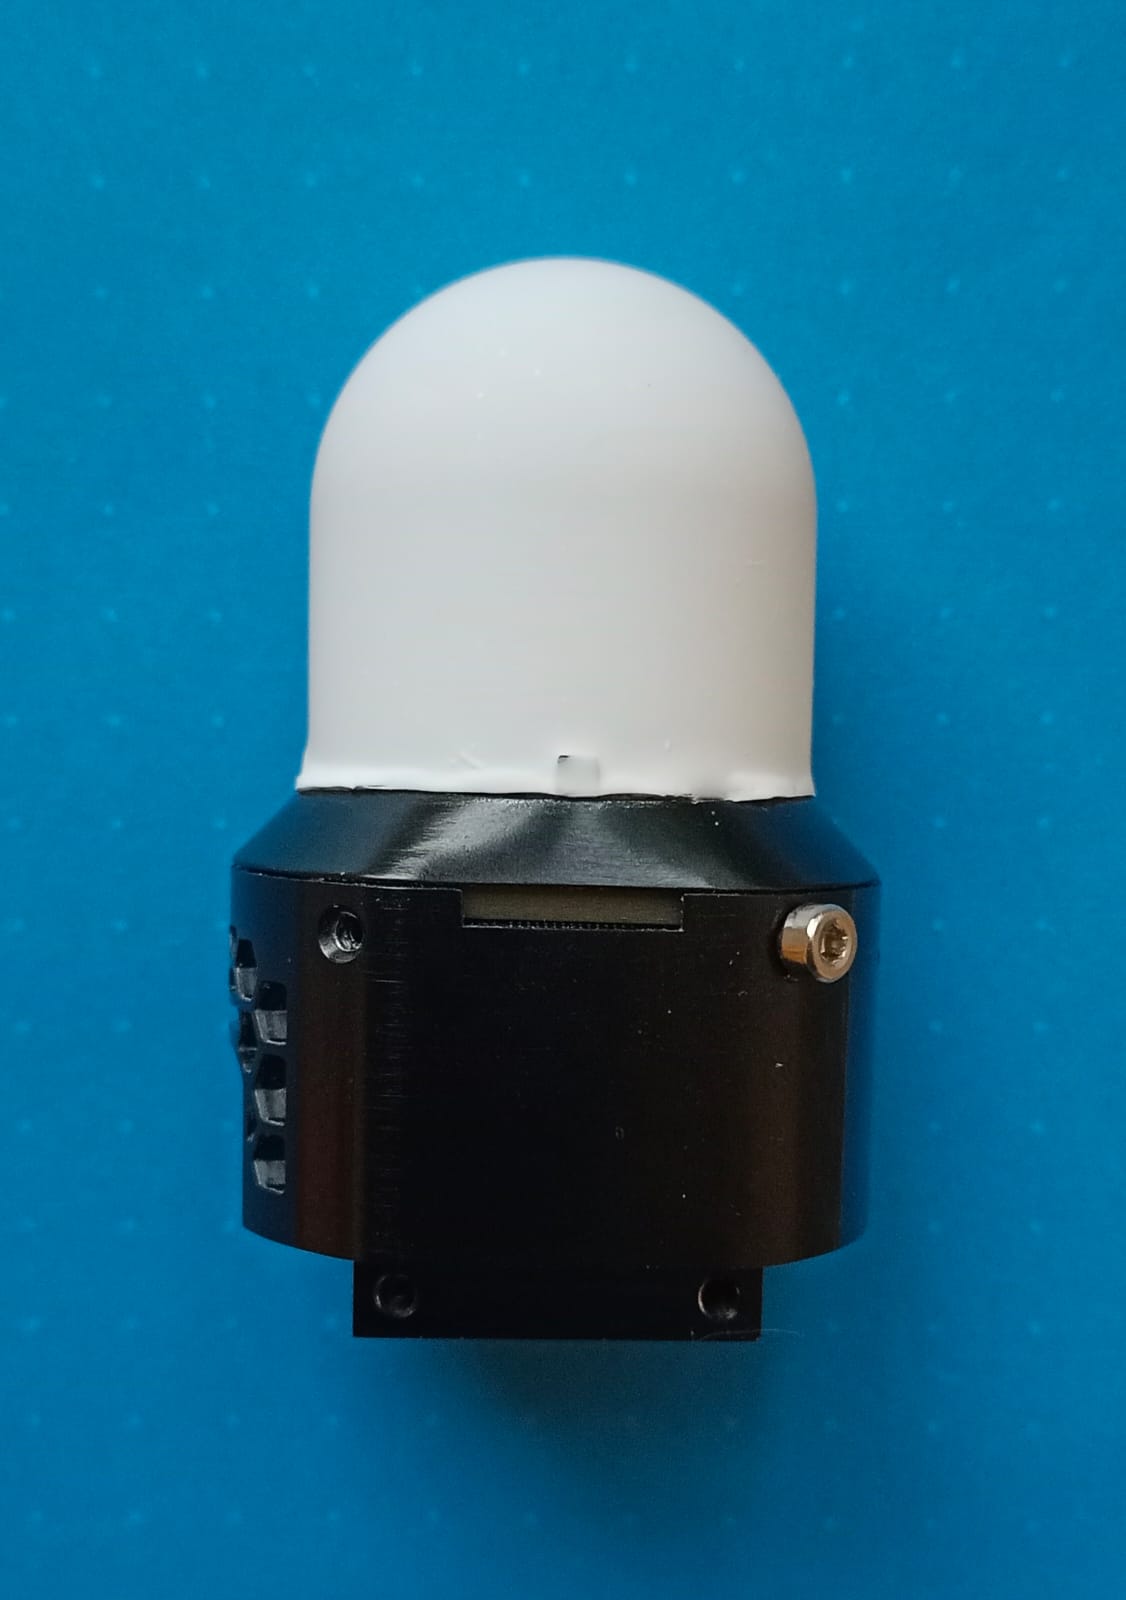
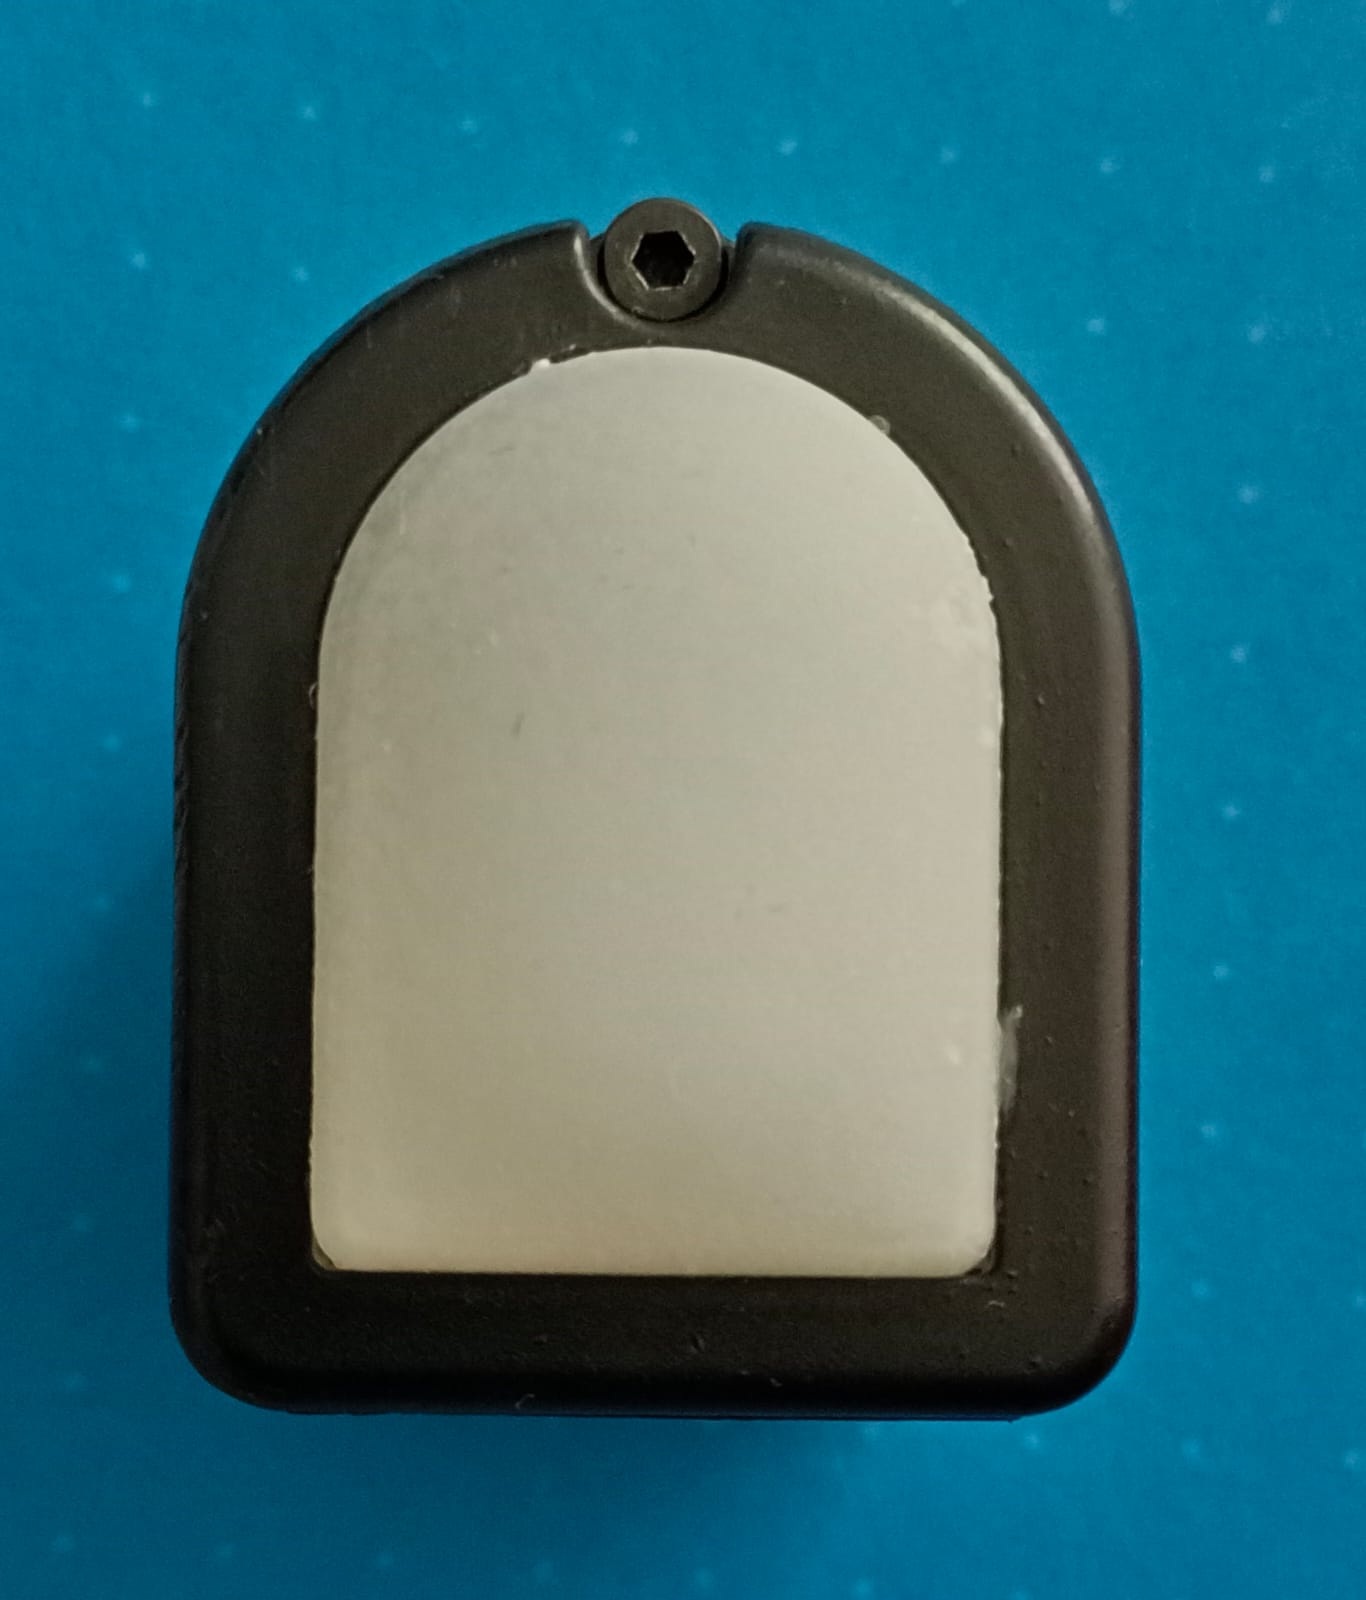
DIGIT tactile sensor, photographed at LASR Lab
01 / USB tactile sensor

OpenTouch Sensor (DIGIT)

Compact tactile imaging for live preview, capture, and recording.

Supported
Resolution
320 x 240
Maximum FPS
60
USB profile
0x2833 / 0x0209

How sensor support works

OpenTouch checks the connected USB device before opening the preview, then exposes the capture controls and sensor-specific workflow locally on Android.

3 supported sensor models
60 FPS DIGIT native rate
25 FPS GelSight Mini native rate
API 24+ Android requirement
Download and requirements

Where to get it and what the device needs.

Get the app

OpenTouch is heading to the Google Play Store. The listing isn't live yet, so the button below opens a Play Store search for now — check back soon for the direct listing.

Requirements

  • Android 7.0 or newer, API 24+.
  • USB host support on the device.
  • Camera permission during runtime.
  • No backend server, database, or web API needed for normal use.

What to expect on first launch

You’ll briefly see the splash screen, then the app opens the main workspace and asks for camera access if it is not already granted.

FAQ

Short answers for first-time visitors.

Q1

What devices does OpenTouch support?

Right now the app recognizes DIGIT, DIGIT 360, and GelSight Mini sensors from the codebase.

Q2

Does it need an internet connection?

No, for normal use — connecting a sensor, previewing, and capturing photos/video all work fully offline. Internet is only needed once, to download the optional AI feature and any model files you want to import.

Q3

Where are photos and videos saved?

Captured media is saved to the device gallery storage so users can review it with installed gallery apps.

Q4

Why does it ask for camera and USB permission?

Those permissions are needed so Android can allow access to the sensor camera and the connected USB hardware.

Q5

Is there a Play Store listing?

Not yet. OpenTouch is planned for release on the Google Play Store; the listing isn't live yet, so the Download button currently opens a Play Store search instead of a direct listing.